We spend about an hour doing the bedtime routine, which includes about 15 min of playtime before taking a bath. Tonight we had fun on the guest bed.
It’s known as fix-it Friday’s over at I Heart Faces so I’ll show a little before and after Photoshop. I’m still learning to edit, but I think I’m improving. I only spend about 2 min or less per photo doing any editing using Photoshop CS4.
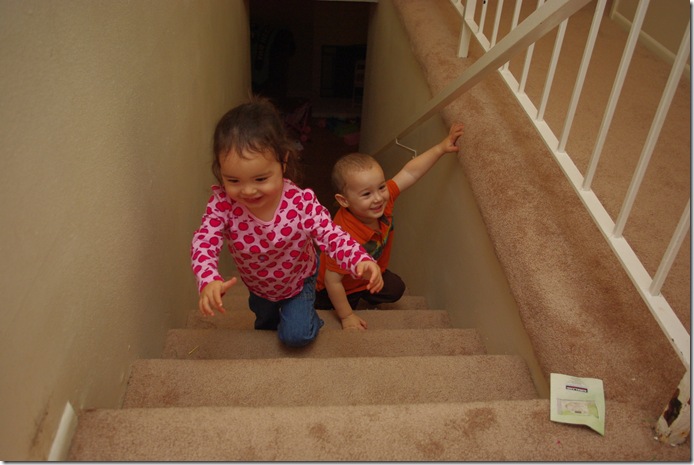
Heading upstairs to start the routine. Here’s what I did: Crop the photo attempting to stick to rule of thirds. Create new layer and use curves to adjust brightness, contrast and fill light (cntrl + m). Magnetic lasso Charlotte’s face and put that on a new later (cntrl + j). Adjust curves on her face to lighten a bit. Magnetic lasso the downstairs doorway and place on new layer. Adjust curves to darken. Flatten image. . Create new layer (cntrl +shift +n) and change to white (shift +backspace and select color as white). Then Filter >Distort>Lens Correction and add a vignette using black. I usually set the darkness around 60 and the midpoint around 35, but I vary this until I like what I see. Click ok, then set layer to Multiply. Flatten image. I then decided I didn’t like the yellow and red in their skin, so I created magnetic lasso their skin/bodies and put it on a new layer. Then I adjusted the color balance (cntrl + b) to increase cyan and blue slightly for shadows, midtones and highlights. I flattened image again and saved. The lighting is poor in this photo so I didn’t spend a lot of time trying to get it perfect(it still has too much yellow and green for my tastes, but it wasn’t worth the effort since adding red, blue and magenta overpowered it because of the poor lighting).

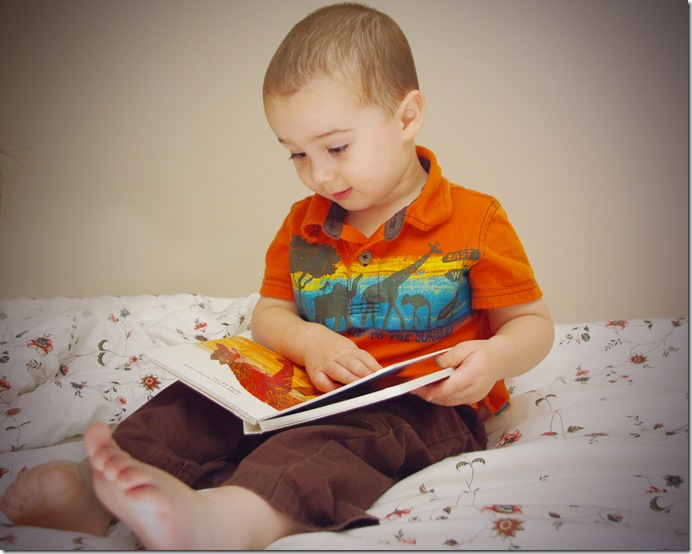
Cooper was reading one of his favorites Panda Bear, Panda Bear, What do you See? Here’s what I did: Crop to remove distracting pieces. Create layer from background (cntrl + j). Use clone stamp to remove blue pillow. Magnetic lasso his foot and adjust curves to darken (this strange lighting comes from my Lightscoop). Create another layer from copy (cntrl + j) and adjust curves on entire photo. Then adjust vibrance up to 8 and saturation up to 5. Adjust contrast to 5. Flatten image. Add vignette and flatten image again. I then decided Cooper’s hair had too much green and that I wished he seemed rosier, so I created a layer from the background and did a color balance to add more magenta in the shadows, midtones, and highlights.. I flattened image again and saved.

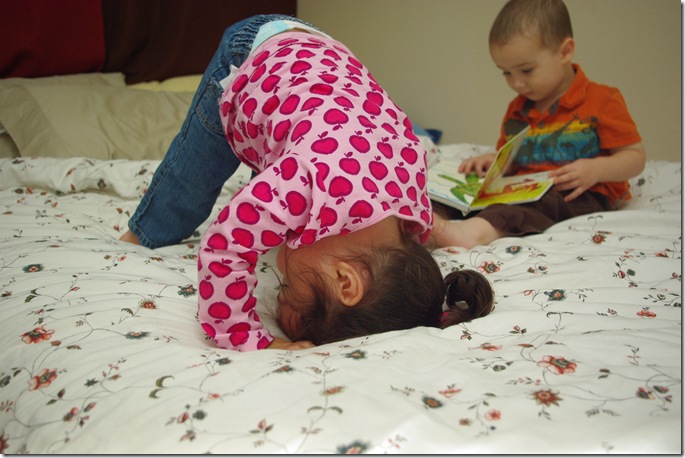
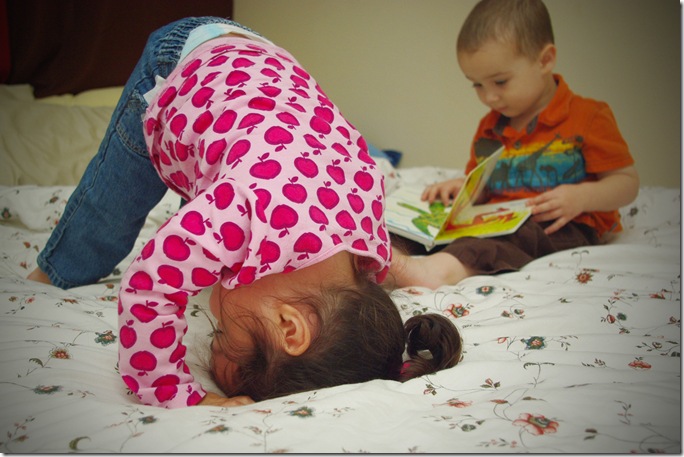
Charlotte is practicing somersaults. Here’s what I did: Crop to frame photo better. I didn’t frame the photo correctly when I took it so that I could crop to rule of thirds. It almost hits it, but not quite. Create layer from background. Adjust curves to lighten. Adjust Vibrance and Saturation up to 5-8. Adjust Contrast to 8. Add vignette.


No comments:
Post a Comment