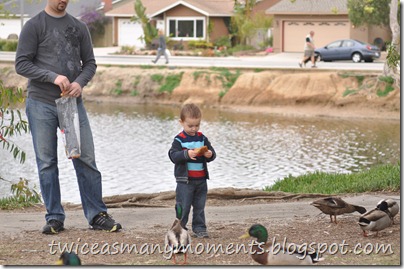
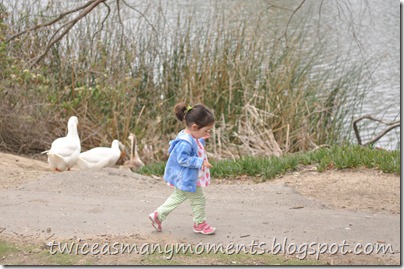
Still catching up on posting. We took a morning stroll to central part to feed the ducks and then have cinnamon rolls at the local cafe in the park. It was a bit of a dreary morning with a lot of cloud cover, which made it very easy to take photos. However it also made my photos look very cool, so I had fun editing. I tried some different things and I thought I would show some before and after, since I don’t do that very often.
All of the before pictures are straight off the camera. In general I took the following steps:
- Crop
- Clone out unwanted or distracting items
- White balance correction in levels to select a white and a black
- Adjust exposure and fill light, and up the blacks in curves by pulling up on the middle of the curve and down on the bottom part of the curve.
- Burn or dodge certain parts of the photos to adjust exposure in specific areas.
- Run PW warmer action. Change opacity as desired and mask out skin if it was too much by using soft brush at 20% opacity. Sometimes run the action twice and set the opacity of the second warmer layer to 20-50% opacity.
- In some cases run PW fresh and colorful action, adjust opacity of light layer, soft light layer, and of group of layers.
- Run PW edge burn and adjust opacity as desired.
- Sharpen using Smart Sharpen set at Lens Blur, 100%, 0.2 pixels.
- Watermarks on original photos are from WindowsLive Writer, otherwise I added the watermarks in Photoshop using a brush I created and hawksmont.com for the flower.










No comments:
Post a Comment